Real-time Destruction FX
March 28, 2025
Week 02: Project Wrap-Up
VAT-Based Rigid Body Destruction has been a fascinating challenge that I had the opportunity to explore throughout this project. Creating Rigid Body Dynamics has always been one of my strong areas in VFX but translating that into a real-time engine while keeping it both dynamic and optimized was no easy task! While I’m not the most efficient at building Blueprints from scratch or manipulating materials within Unreal Engine, this project pushed me to learn and experiment in ways I hadn’t before. I’ve gained a much deeper understanding of Vertex Animation Textures (VAT) and their role in real-time destruction FX. Below is a recap of my process, along with all the references and tutorials I followed throughout this journey.
I. Pipeline
Unreal Engine provides a dedicated SideFX Houdini Plugin to import and process VAT textures, making the setup much easier. If you’re looking for a deep dive into configuring Blueprints and materials, I highly recommend checking out the SideFX documentation and tutorials linked at the end of this post.
I use a projectile impact as the animation trigger, allowing destruction to happen dynamically when an object (like a bullet) hits the fractured surface. The Blueprint setup ensures that the VAT animation only plays when needed
Key Steps of Blueprint and Material Setup for VAT with Projectile Trigger
Import VAT Assets & Create Material Instance
Import the Full Simulation Location Texture, First Frame Texture, and Rotation Texture into Unreal Engine.
Create a Material Instance that reads the VAT data to animate the mesh.
Apply the First Frame Texture (Default State)
Before any interaction, the mesh displays the First Frame Texture, keeping it intact until triggered.
This ensures that the object looks solid before an impact occurs.
Set Up the Projectile Blueprint
In the Projectile’s Blueprint, add a collision event that detects impact with the VAT object.
When the projectile collides, it sends a signal to trigger the animation.
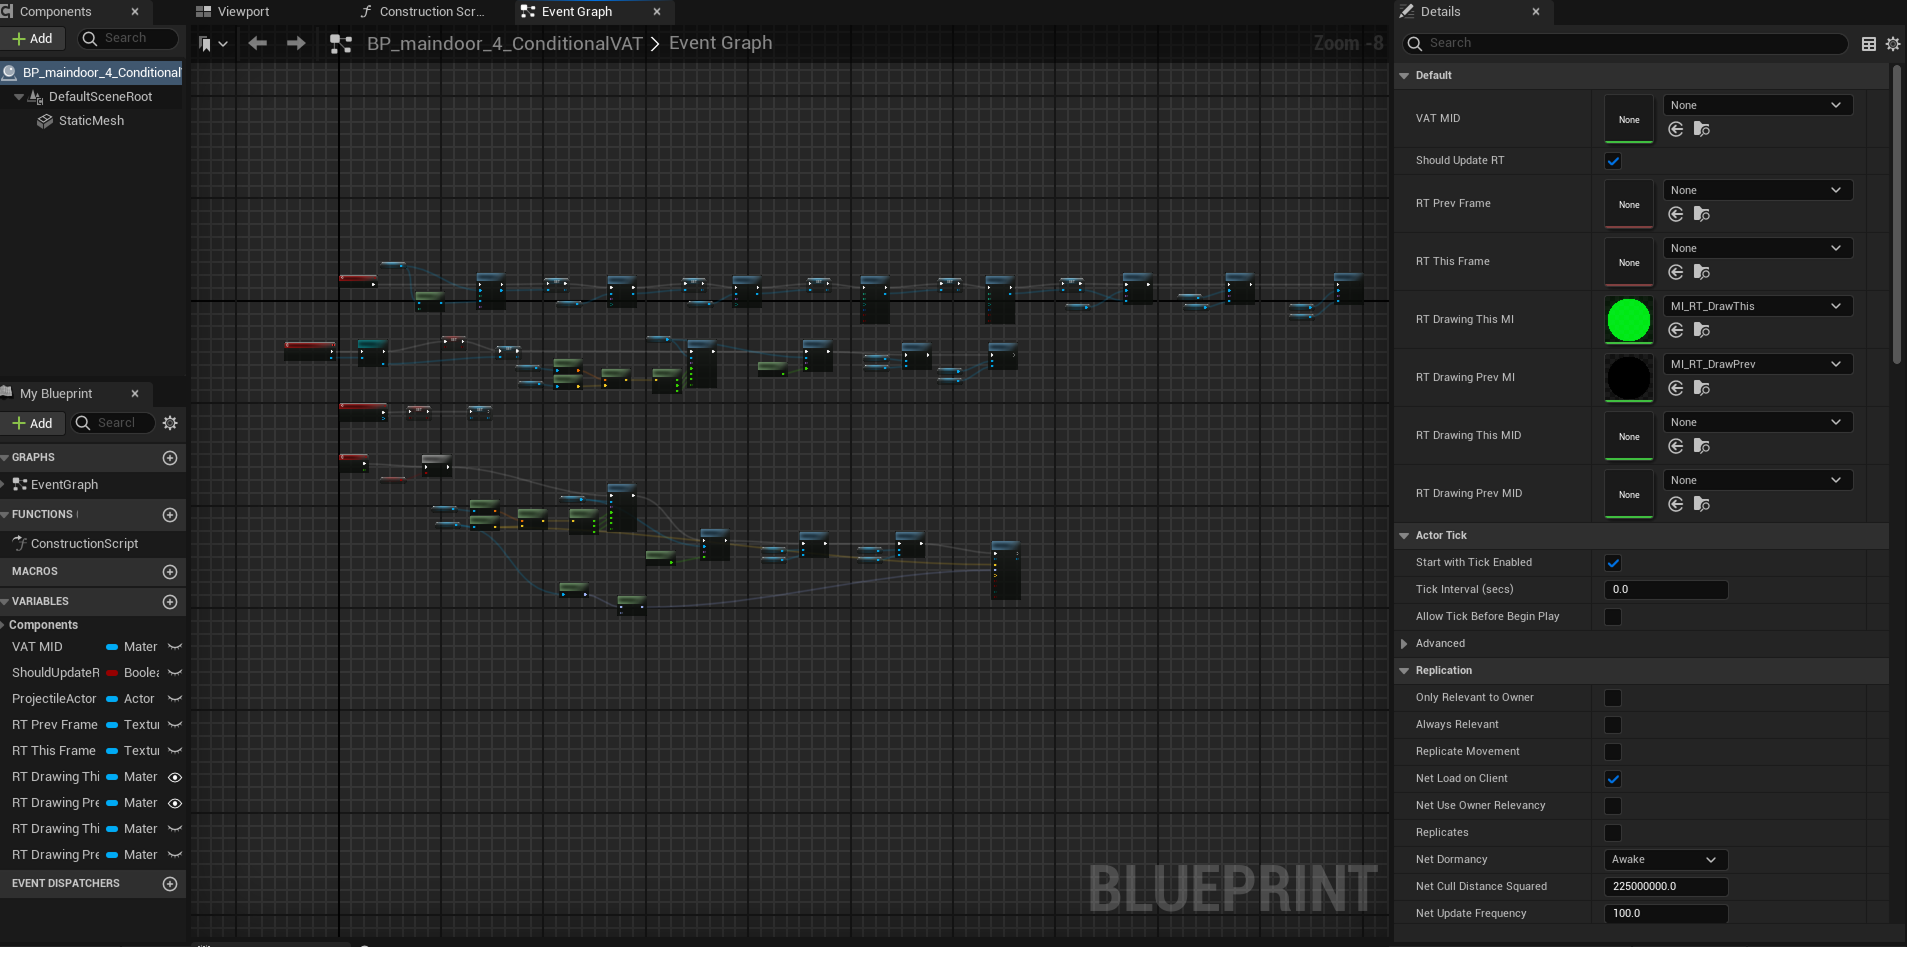
Enable VAT Animation in the Blueprint
Inside the VAT object’s Blueprint, create logic to handle animation playback:RT Draw This (Boolean Variable)
Initially set to false (object remains in its first frame).
When the projectile hits, set it to true, switching from the First Frame Texture to the Full Simulation Location Texture.
RT This Frame & RT Prev Frame
These values track animation progression, ensuring smooth playback.
When triggered, they start cycling through the VAT textures, simulating real-time destruction.
Trigger Animation on Impact
When the projectile hits, it changes RT Draw This to true, starting the destruction animation.
The mesh seamlessly transitions from intact to fractured, playing the pre-baked VAT animation.
Although my Houdini VAT exports didn’t show any noticeable issues, their behavior in Unreal Engine Blueprints was quite interesting.
Pillar geometry performed the best, as the falling pieces transitioned smoothly with accurate physics and collision. The simulation respected the modular breakup, making the destruction realistic and predictable.
Larger/wider geometries (such as walls) had more conflicts in determining which piece should fall first, leading to a messy animation. This was likely due to how VAT interprets activation zones—larger meshes require more careful control over active areas to prevent unintended overlapping.
VAT reacts to projectile Blueprint

RT_DrawThis Material

VAT Conditional Master Material

VAT Conditional Material Instance
II. Projectile Blueprint
For more details on how I set up procedural fracturing and simulated RBD destruction, check out my previous blog post and other projects, where I dive deeper into this process. In general, Houdini is my main platform for simulating each modular piece, as well as exporting both the post-simulation geometry and VAT textures for Unreal Engine.
When bringing VAT into Unreal Engine, there are three essential textures required for proper animation playback:
Full Simulation Location Texture: Stores the position data of each fractured piece throughout the entire animation. This drives the movement of the debris.
First Frame Texture: Captures the initial state of the fractured mesh before animation begins. It is crucial for setting up interactive Blueprints, allowing the pieces to remain static until triggered.
Rotation Texture: Stores the rotational data of each piece over time, ensuring accurate angular motion during destruction.
While the location and rotation textures handle the full destruction sequence, the first frame texture plays a key role in interactive setups, ensuring that the debris remains static until activated dynamically in-game.
Additionally, each piece has its own "hit box" generated as a sphere based on its radius. This information will be transferred to UE5 to make the VAT interactive.

III. Final Recap
This project was a challenging but rewarding experience, giving me the opportunity to dive into Vertex Animation Textures (VAT) for Rigid Body Destruction in Unreal Engine.
One of the most exciting aspects was learning how to bake complex simulations into textures and drive animation purely through materials and Blueprints. The process of transferring attributes from Houdini to Unreal and extracting meaningful data from VAT textures was something I had never explored before. I was fascinated by the idea that animation could be played back just from texture data, without requiring a skeletal rig or traditional animation methods. Even though the results weren’t perfect, I gained tons of knowledge and discovered a new pipeline that I’ll definitely continue refining in the future.
While I enjoyed the process, I wasn’t completely satisfied with the final results. Larger fractured pieces, such as walls, had unexpected animation conflicts, which I believe stemmed from how active areas were assigned. Given more time and resources, I would like to customize the VAT Blueprint further to be more responsive to interactive destruction events—for example, ensuring VAT pieces could react to real-time fracturing instead of just playing back a pre-baked sequence. Additionally, I found limited documentation on VAT troubleshooting, making it difficult to debug some of the issues I encountered.
For my next project, I plan to dive deeper into Blueprints, spending more time analyzing how they function under the hood to improve my understanding of Unreal’s procedural workflows. Just like how I built my RBD simulations in Houdini from scratch, I want to develop the same level of confidence with Blueprints, allowing me to customize and troubleshoot VAT setups more effectively. Additionally, I aim to refine my ability to art-direct VAT destruction, ensuring more control over how the effect plays out. Most importantly, I want to explore methods to make VAT reactive to dynamic events, pushing the technique further to achieve more interactive and realistic destruction.
References & Assets
Links of references & assets:
Advanced FX with Conditional Vertex Animation Textures | Houdini Games Workshop - Ben Christensen
VERTEX ANIMATION TEXTURES IN UNREAL - SideFX